Kodak Ektachrome E100 Impressions/Review

Its been a while since I’ve posted much to this blog and I thought I would start up again with a post about the recent reintroduction by Kodak of their Ektachrome slide film.
Throughout the last few years, I’ve been shooting a lot of film with a variety of film cameras. I took a part time job at a photo lab at the end of summer 2016 and the availability of film and processing has enabled me to dive into the world of analog photography. I say analog but I suppose that’s only half true since the two film cameras I use most are a Pentax 645n and a Canon EOS 3, both of which are heavily automated and then I machine process my film. Regardless, I’ve fallen in love with the aesthetic of film so when I heard that Kodak was reviving a slide film I got pretty excited.
Most of what I shoot is color print film so I don’t have a ton of experience with positive films. Out of the roughly 150 rolls I shot in 2018, only 3 or 4 were E6. When the exposure is nailed, I’ve been really pleased with how slide film can look and there really isn’t anything like looking directly at slide film on a light table or held up to a bright light. Its so luminous and sharp and colorful. You get close with a modern high resolution phone or computer display with the brightness turned up but those still don’t seem quite as sharp and beautiful.
As soon as I read that preorders were available for Ektachrome in August or September of 2018, I put my name down for a few rolls to see what all the excitement was about. Since the older Ektachrome emulsion was discontinued before my interest in film photography really began, my main frame of reference would be color negative films.
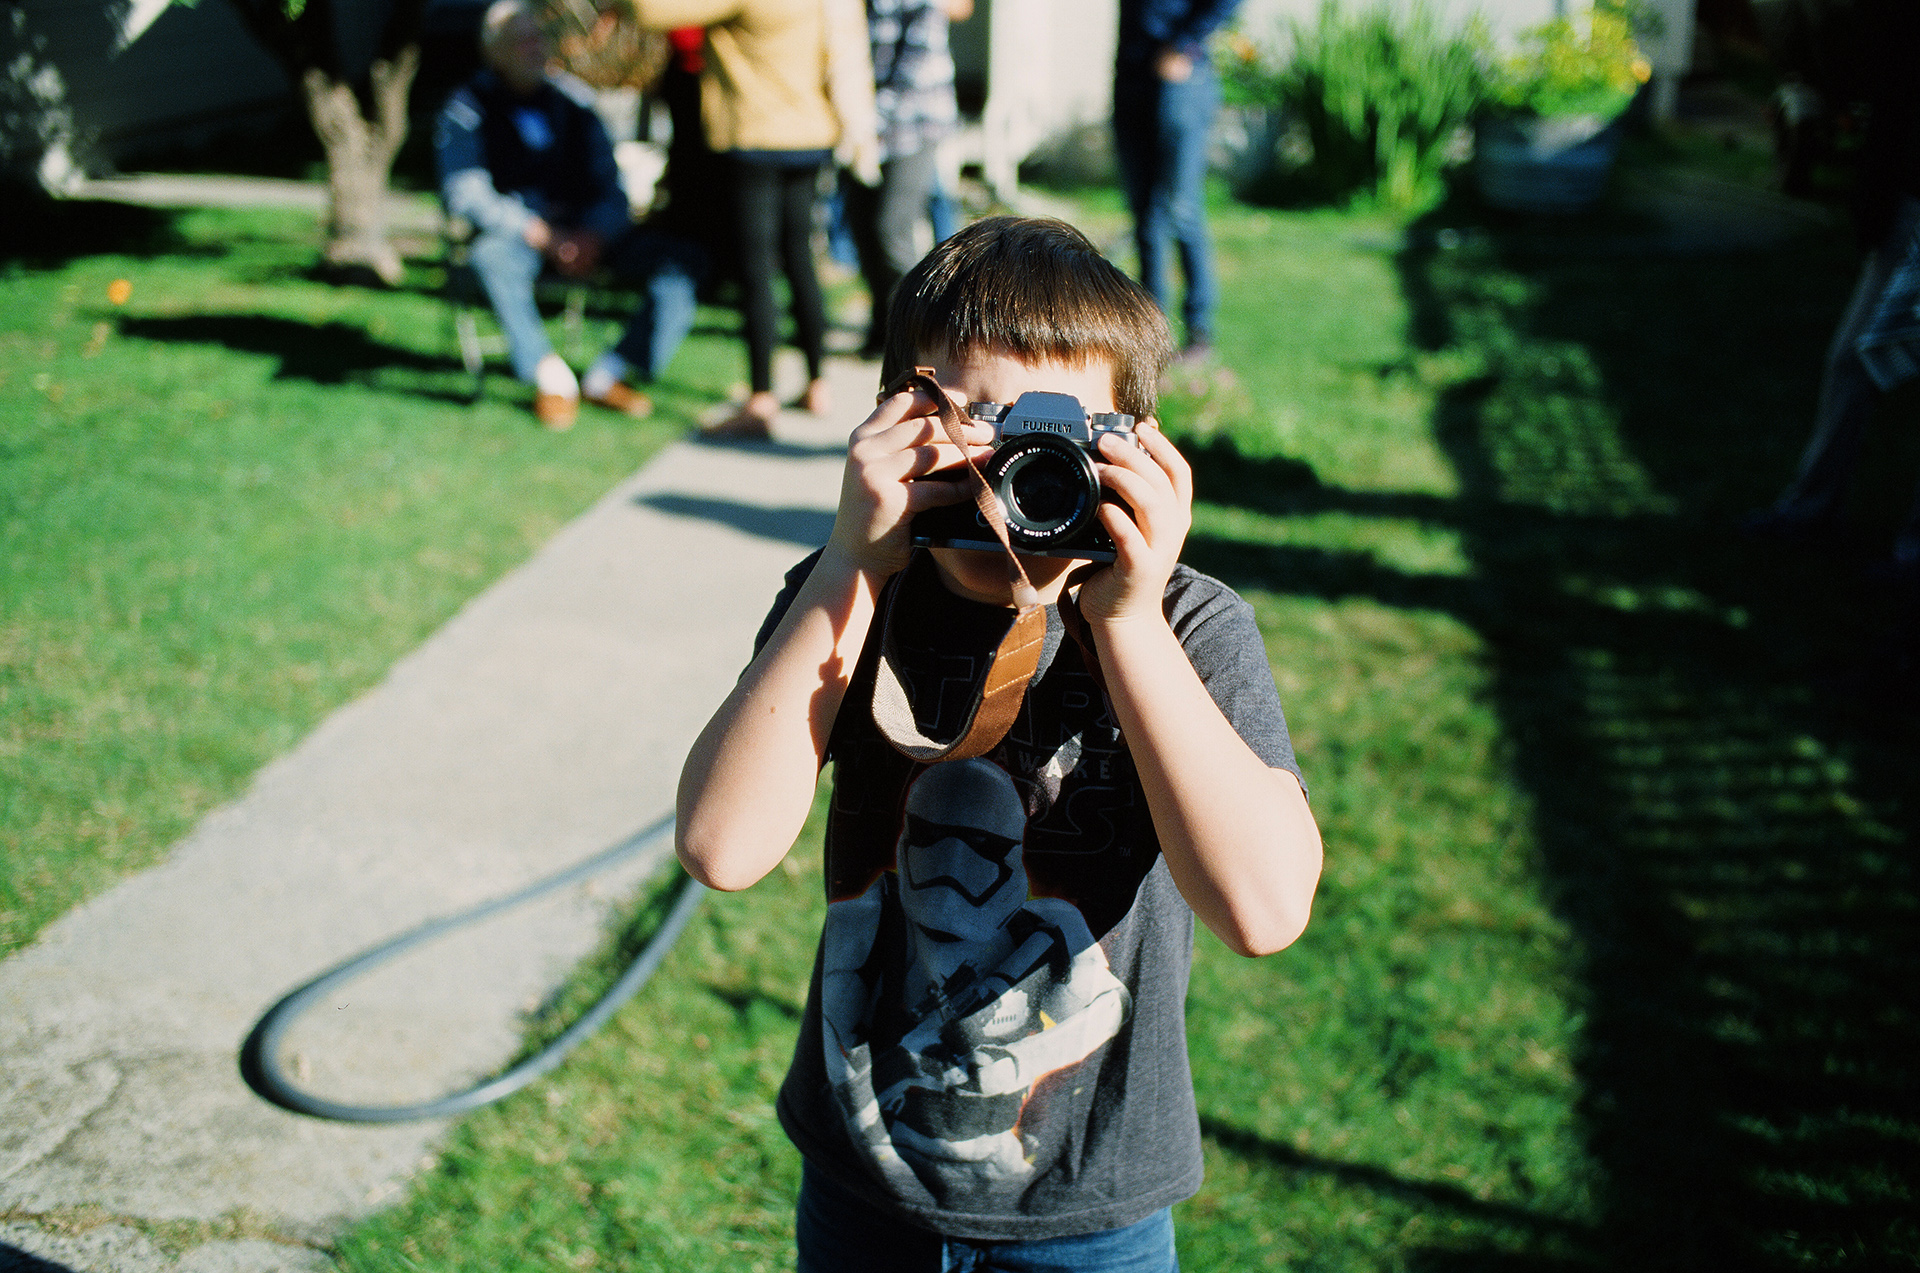
Because E100 is relatively costly ($13 per roll at B&H as of Feb 2019) and the development is usually more expensive than C41, I held on to my rolls for a while until I could decide what to shoot with them. Nothing very interesting came up for a few months so on Christmas day I just decided to put a roll of E100 into my Nikon F3 and take some snapshots of my family.
(All of the photos in this post have been scanned on a Noritsu film scanner. Many have had minor edits made that I’ll try to summarize in captions)

Minor adjustment made to color balance but otherwise a pretty good example of the color you get from Ektachrome. Nice skin tones and a definitely bias toward blue-teal-green.

Here you can see one of the signature aspects of slide film with the highlight blowout on the right. For these kinds of everyday photos, I don’t find it to detract from most photos. If smooth, detailed highlights are what you’re after, you shoot color negative or a good digital system. I really like the bright reds that you can get with Ektachrome.
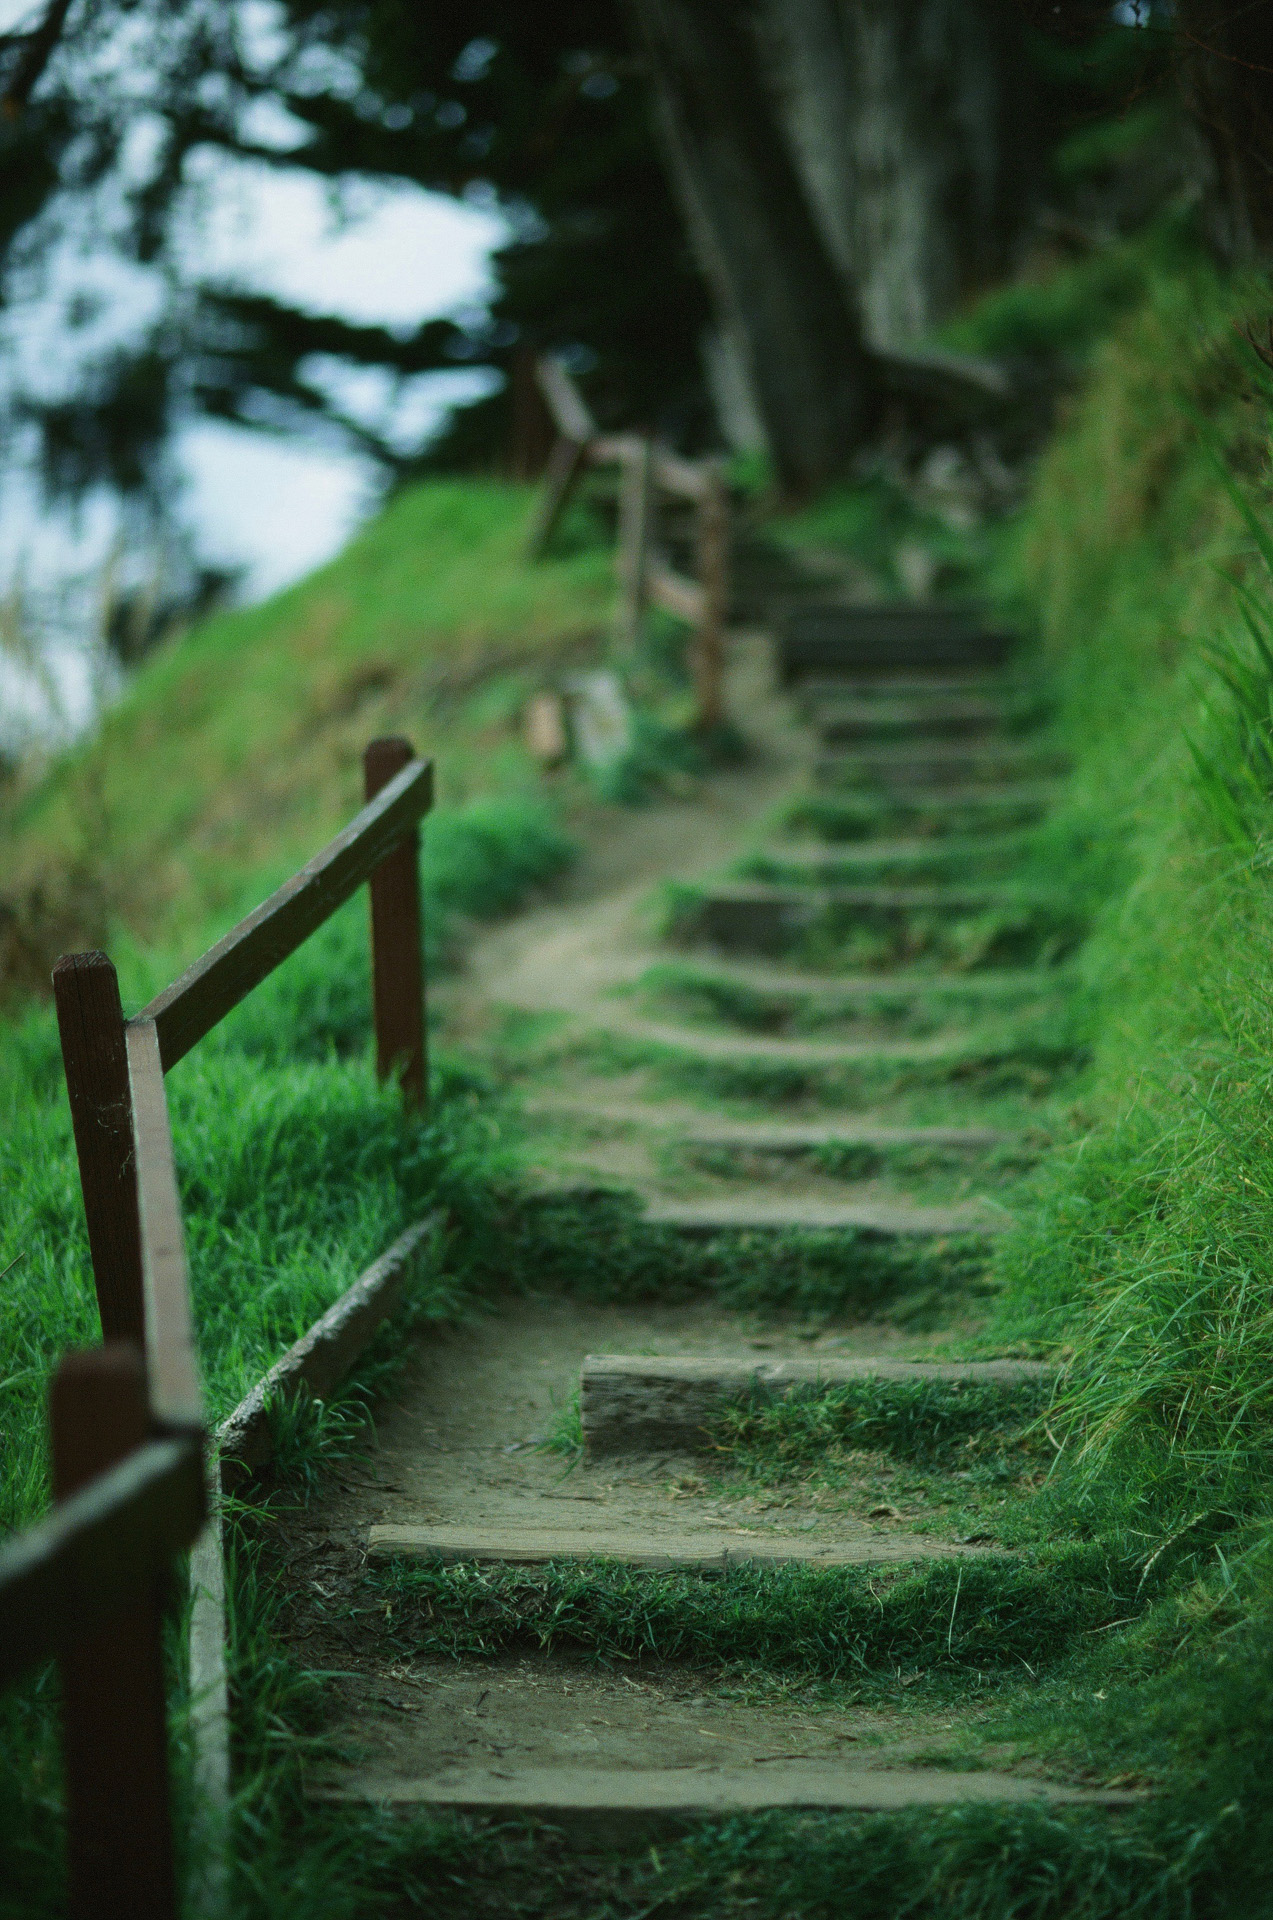
This is essentially a straight scan from the Noritsu. I sharpened it a little and darkened it slightly but this is the kind of look you’ll get in midday sun. I think I had the meter set incorrectly so a lot of my photos were slightly overexposed. Something I’ve avoided in subsequent rolls. I think green is the most saturated color that Ektachrome produces. I could see this being an awesome film to take somewhere tropical and colorful.

Check out this sharpness!

I had to warm this photo up a fair amount to get rid of the blue-green cast that it scanned with. I’ve scanned all of my rolls of Ektachrome on the same Noritsu scanner and all of them have come out needing some compensation for the cold color balance. That same scanner does a fantastic job with all my other rolls of film so I’m not sure if its just something to do with scanning slide film with it or if its just inherent in Ektachrome to need warmth added to the scans.
After processing and scanning that first roll, my biggest impression was that I needed to shoot more of it and that I was a little surprised how cool the color rendition was. This isn’t a film that displays any of that Portra/Gold warmth in portraits without doing some adjustment after scanning. You can of course affect the color balance per frame when scanning with a Noritsu scanner but I usually like to only do a little of that and then do main edits afterward in Photoshop or Capture One. Something about the color balance adjustment in scanning seems to work better with color negative compared with slide films.
Since Christmas, my first creative/portrait shoot has been with my friend and awesome model, Cierra. I’ve photographed her a lot in the past and its always fun to work with her. We went up the coast to Greyhound Rock Beach and did some simple portraits with a crown prop I had made and a simple red drapery. At the time I was borrowing a Canon 85mm F/1.2 that I’ve since purchased. It was my first time working with that lens and I was super excited to use it in conjunction with Ektachrome for some portraits.
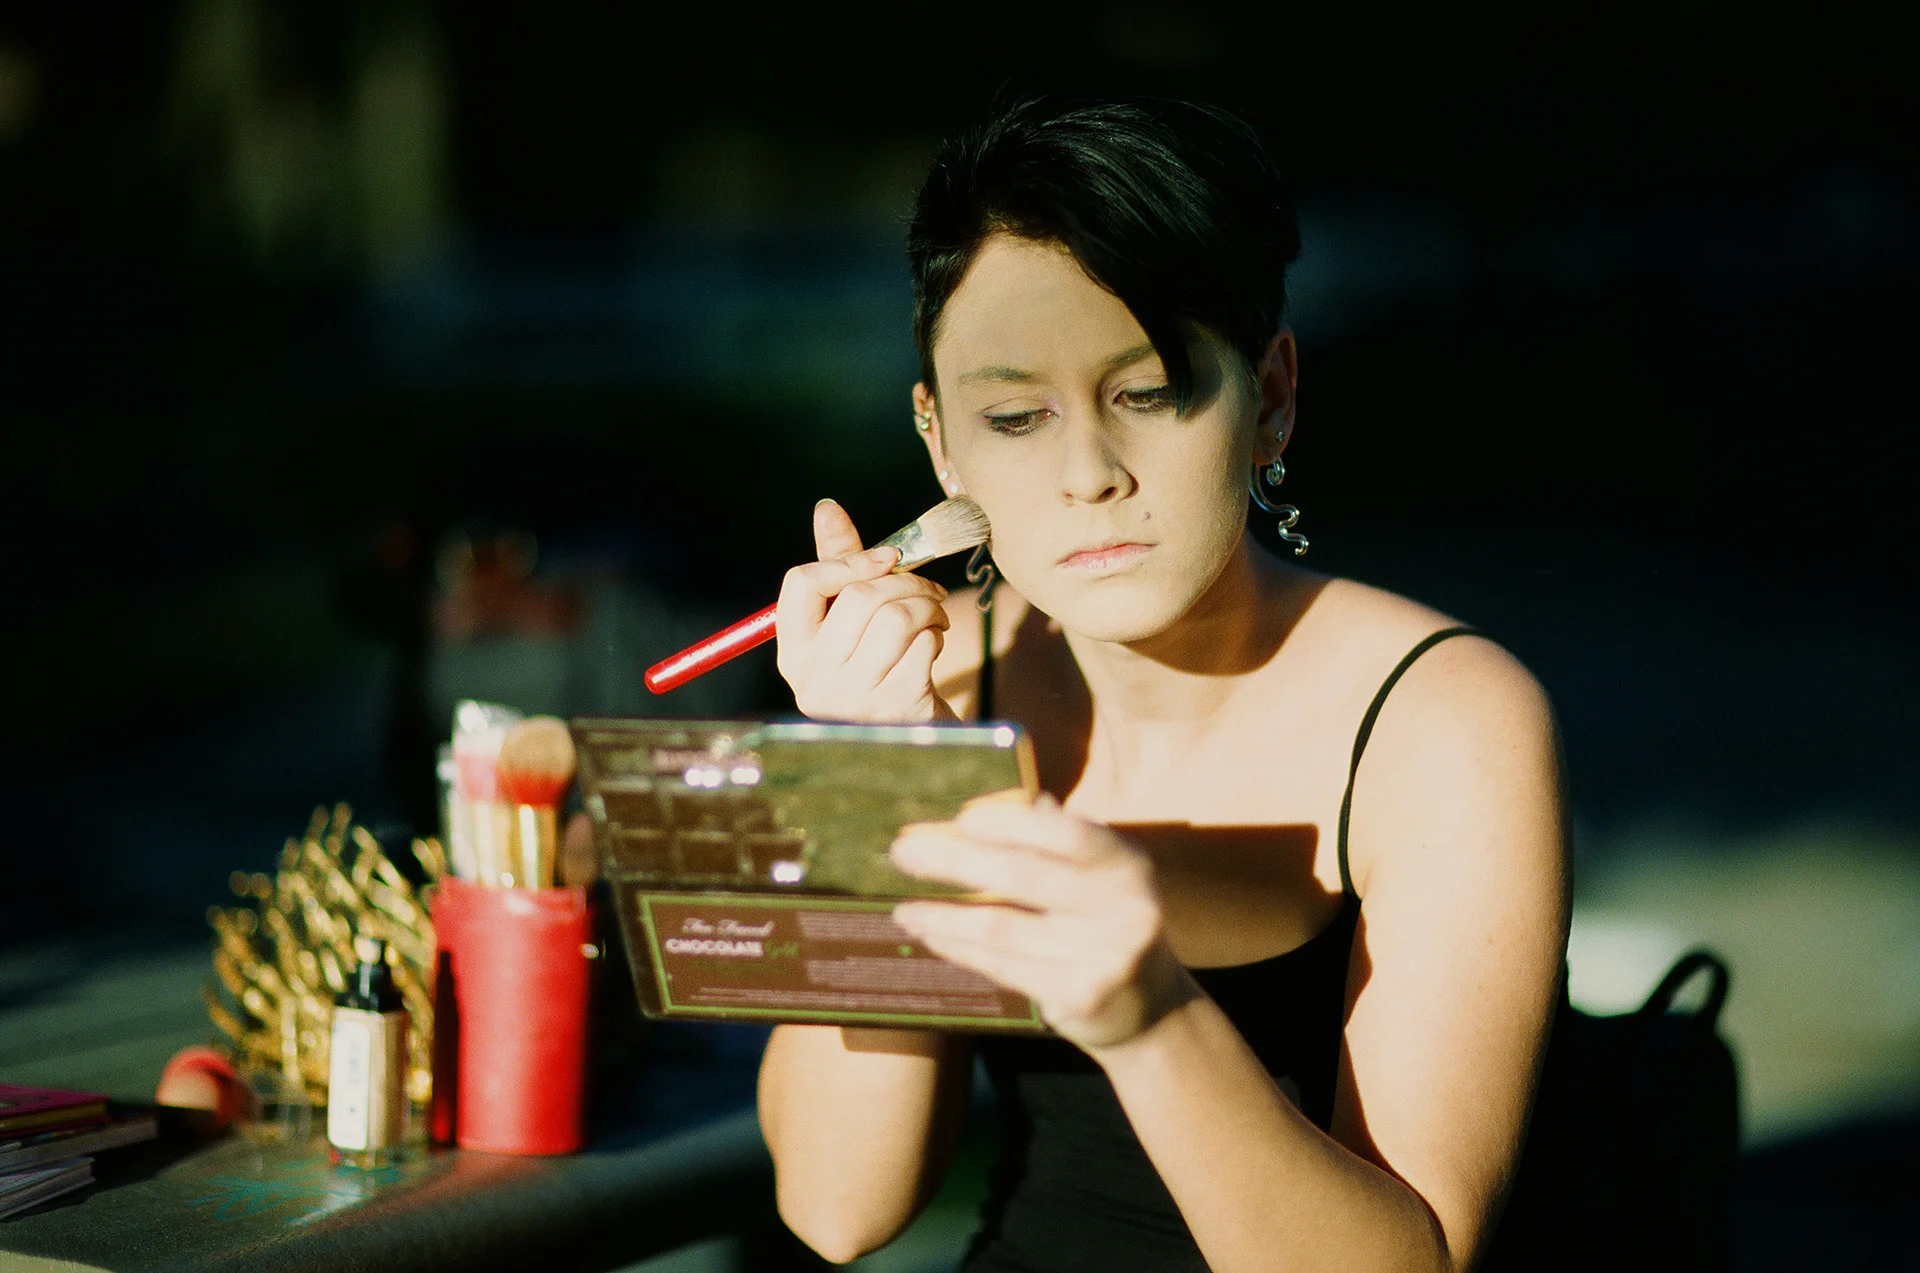
Unedited scan. Had to try and darken this in scanning because it was overexposed. Also notice the green cast. This was taken as she was prepping and the sunlight was so strong that it was overexposed at 1/8000th F/1.2. This was just on the edge of totally overexposed but with a bit of detail left. Since it was just a behind the scenes snapshot it was fine but I used my handheld light meter for the actual shoot.

Unedited, straight scan. For photos like this, the strong cool tones of the film work really well. Checking out the scans afterward, I was surprised how many were in focus at F1.2. Props to the EOS 3 for being able to autofocus that beastly lens so well.

This was metered for the mid tones and while some detail was lost in the shadows, its what I was going for. Something warm and contrasty. It’s interesting how using such a shallow depth of field can soften the skin and make it look kind of retouched. I did a little detail retouching but nothing major on this shot. I shifted the yellows a little more orange but otherwise the color came out nicely in this scan.

This shot was warmed up considerably in Photoshop to make the background look as warm as the light on her skin. I was afraid that the highlights would blow out harshly in a lot of these but they seem to have turned out fine. I mostly metered for the mid/skin tones and let the rest fall where they would.

Close up of the point of focus of the previous photo. Pretty good sharpness for a film scan and F1.2 lens.

Straight scan, slightly cropped.

Detail.
Using Ektachrome at a normal photo shoot was an interesting experience. Because everyone always talks about the narrow exposure latitude of slide film, I was paranoid that I would overexpose and blow out too much highlight detail, especially in the metallic bits. Simple use of a handheld light meter seemed to work fine though. I just held the meter in front of the model’s face that was receiving the most direct light and took a reading. I probably could have actually increased my exposure slightly and gotten a bit more detail in the shadows but I’m also happy with how they look with the deep shadows so at that point it would have just been a subjective difference and not necessarily better or worse. I think it’ll take shooting many more rolls before I get a real feel for the best way to meter and when to over or underexpose according to meter reading.
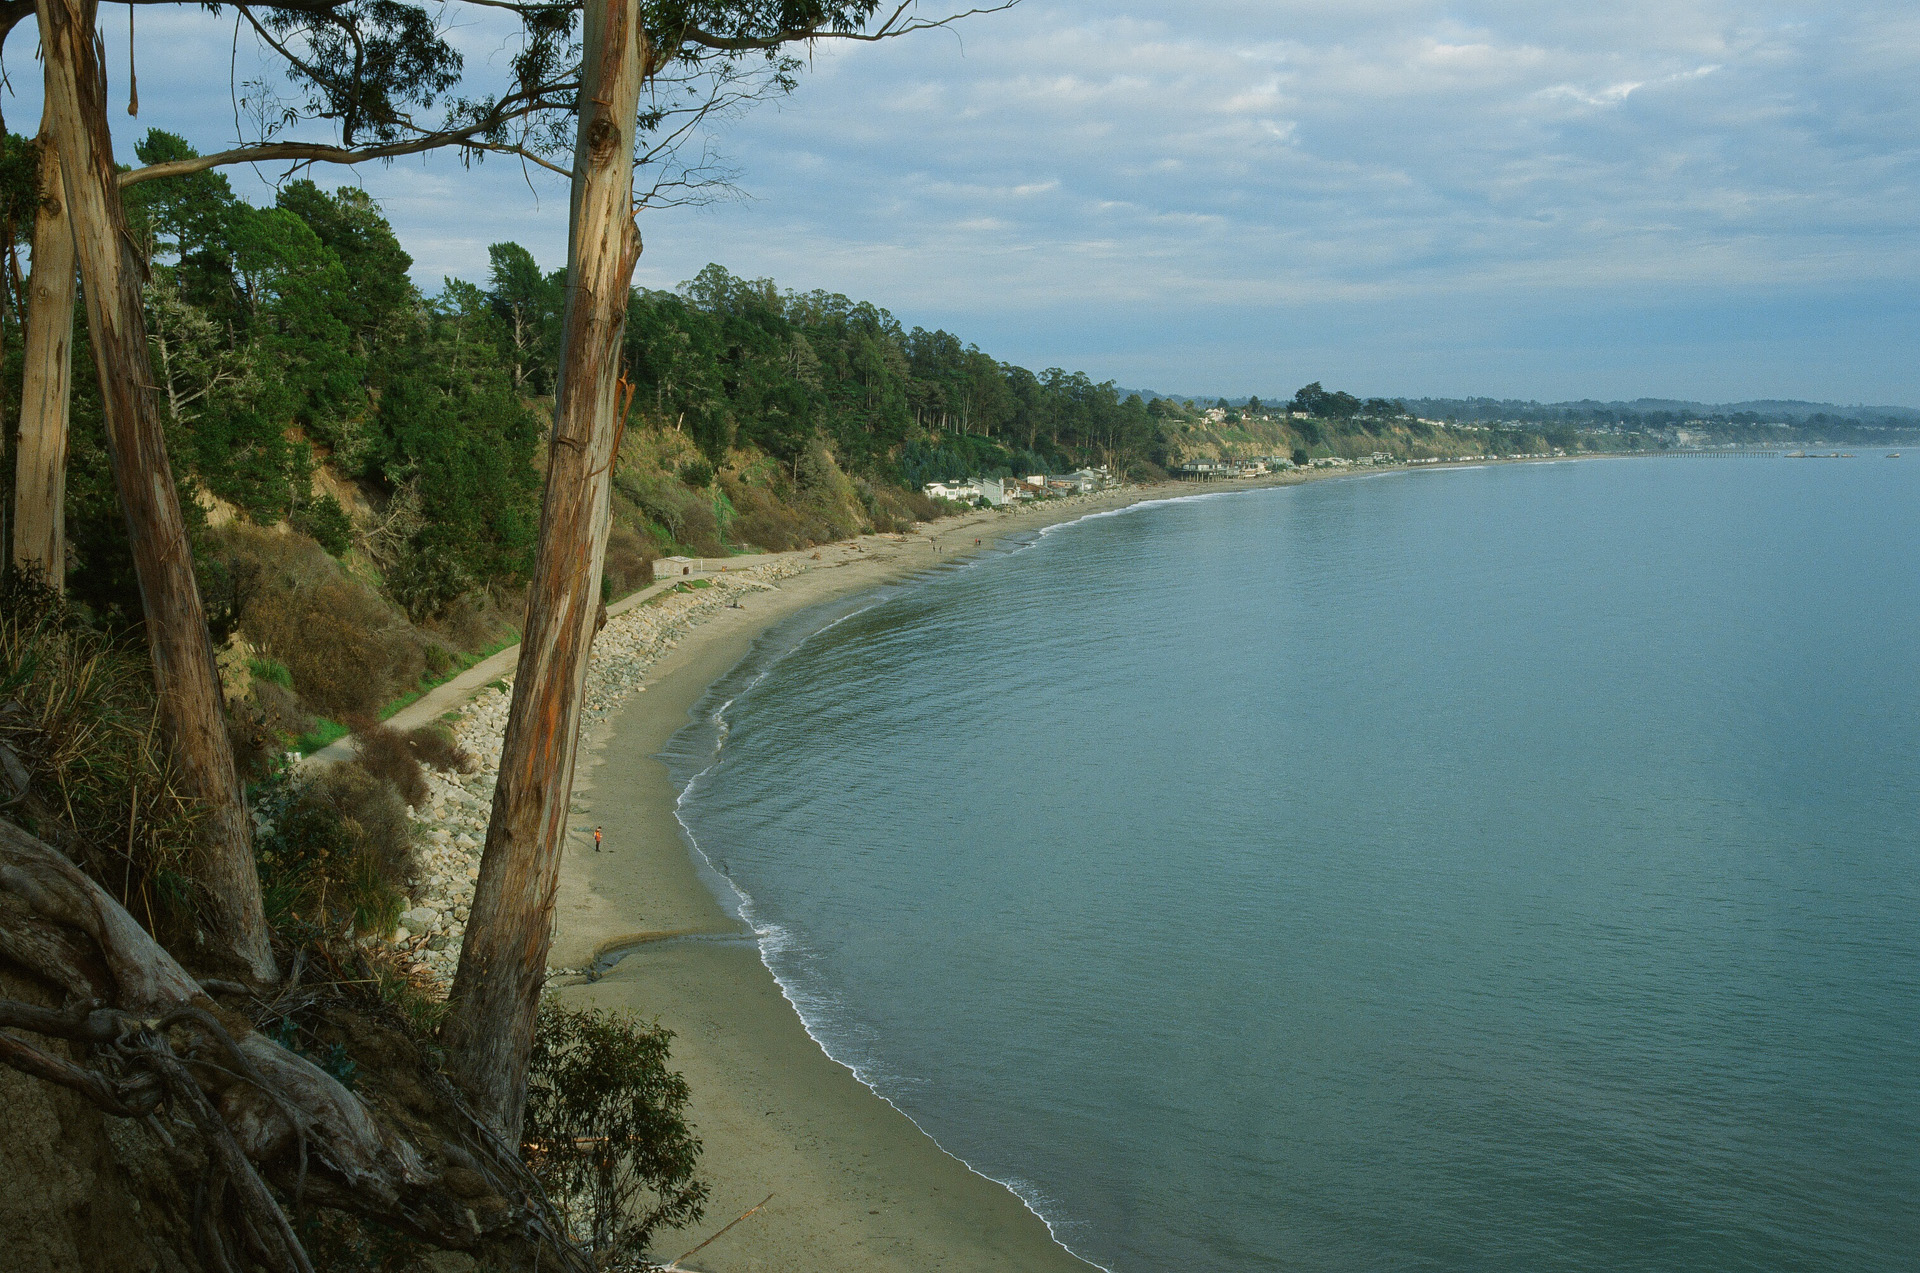
After that shoot, I shot one more roll of E100. I took a walk from a beach in Aptos and up along the train tracks over to Capitola. Shot with my EOS 3 and the 35 F1.4 and 85 F1.2, these photos aren’t anything particularly interesting but I just wanted to shoot some more Ektachrome and see how it worked under different conditions. The following photos are unedited from the scanner other than resizing for the web.

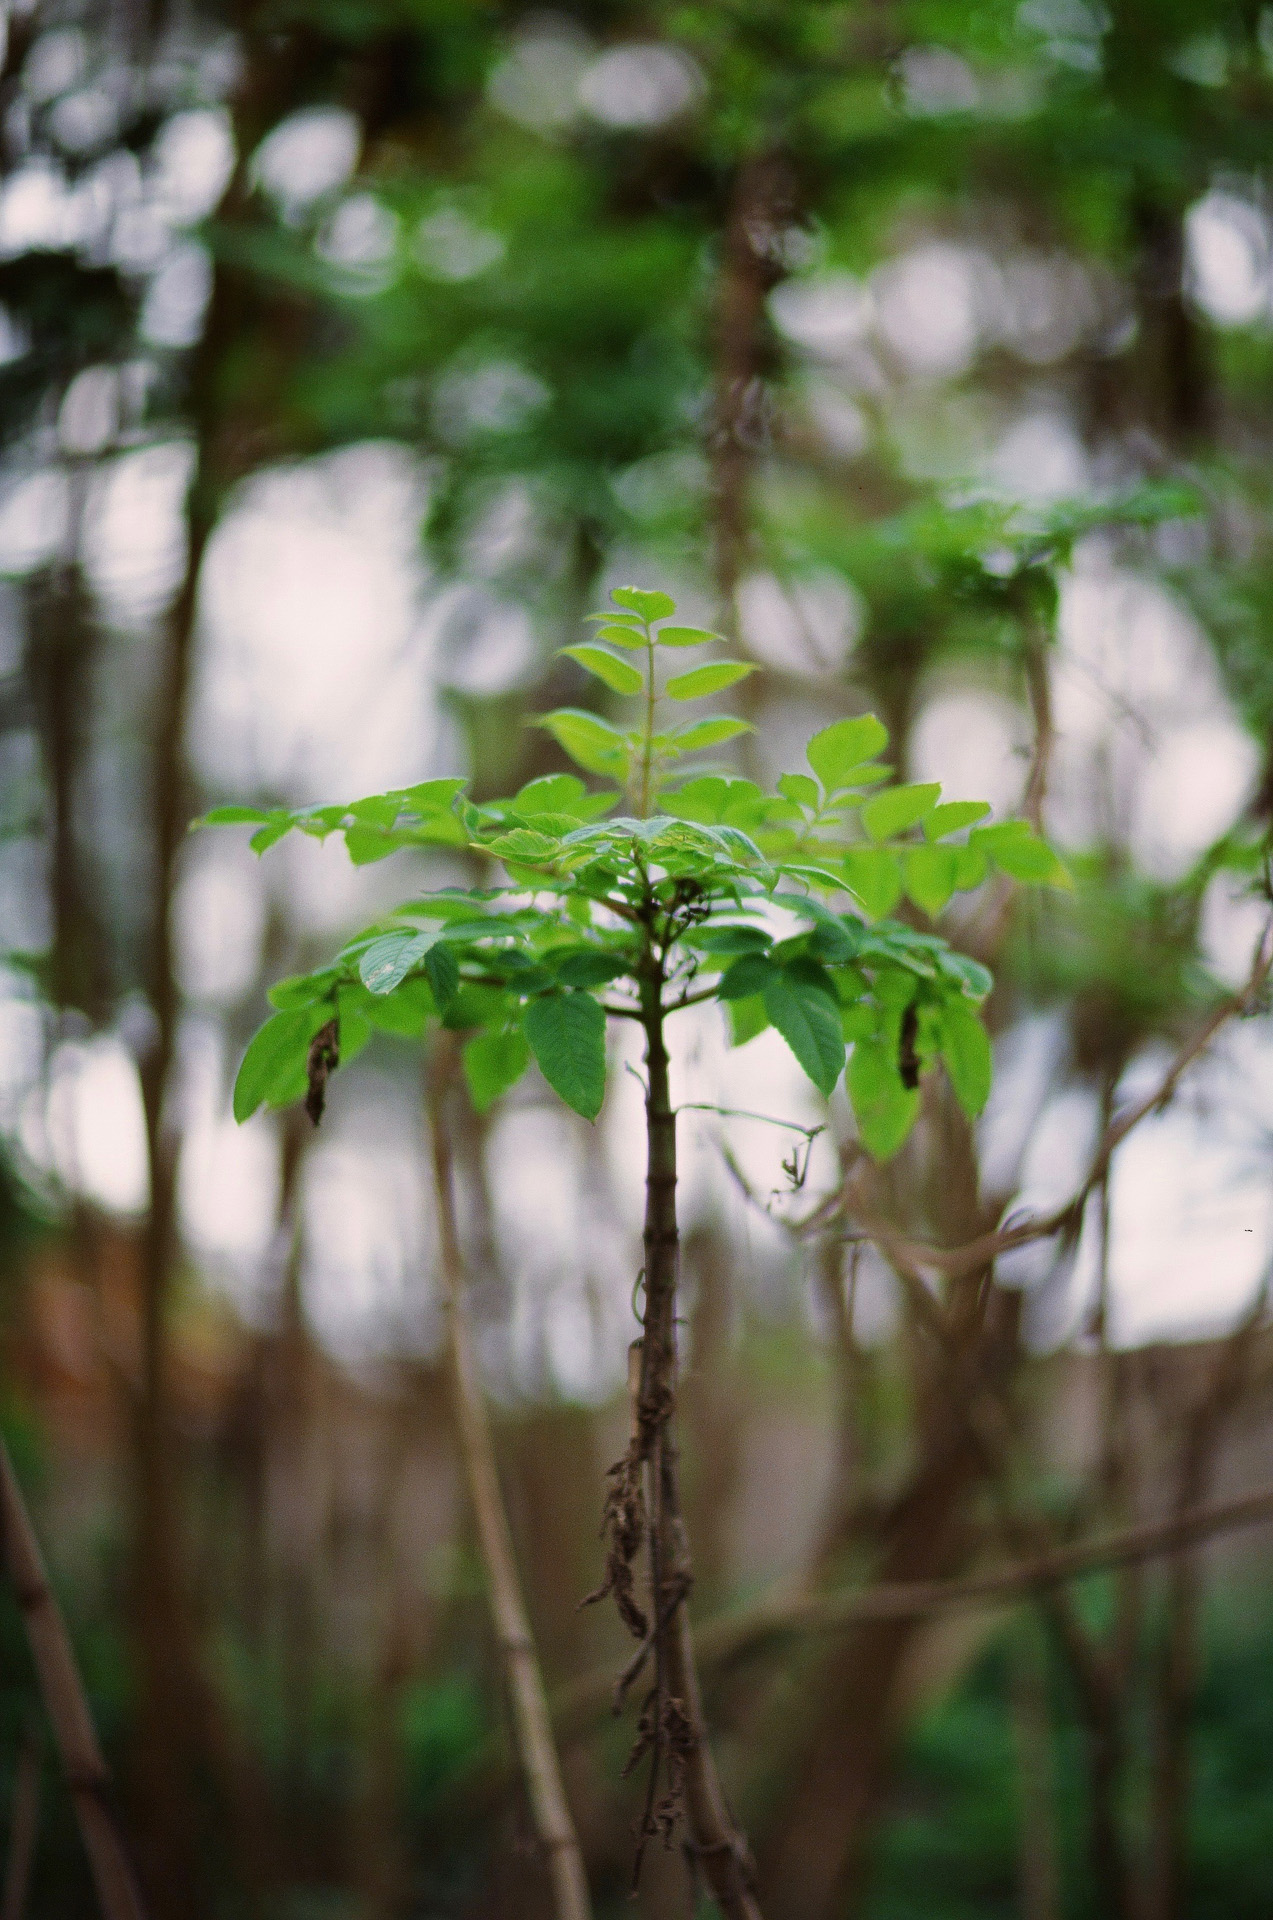


My overall impression of this film stock is positive (hah!). Its definitely not as easy to use as the color negative films. With those you have a large range of exposure values you can use and still get a great exposure/scan. Slide films are more limited so you have to be a little more deliberate and exact if you are after perfect results. This isn’t necessarily a film I would recommend to a beginner who wants to throw it into a point and shoot or someone who is learning photography with a manual slr. Other than the snapshots of my family where I just used the basic built in meter of my F3 and didn’t think much about it, I either metered by hand or used the EOS 3’s meter and still compensated manually for each subject based on whether I felt it needed more or less light. If I was shooting a flower or something with a bright background then I would set the exposure comp to between +1 and +2 depending on the scene to make sure the subject didn’t turn out way too dark. With color negative film loaded in my camera I could have just walked around all day with it sat to +1 or +2 and everything would have looked great.
I shoot weddings on film and I can’t see using this film on a job since its so common to have to shoot huge contrast ranges (dark suits, white dresses, bright sunlight) that are difficult with slide film. I’ll probably reserve Ektachrome for my art portraiture or for personal stuff.
After shooting those three rolls, I ordered a handful more and look forward to shooting them. I think Ektachrome and slide films in general are great at capturing strong colors so I’ll have to think of some cool situations that can show that off. Kodak recently announced that they are planning to release E100 in 120 format as well. I can’t wait to get my hands on some and try it out. Its already so sharp in 35mm that I bet the medium format version will make for some fantastic scans. I’m curious to shoot something really detailed with a medium format camera on Ektachrome and then have it drum scanned.
I’ll probably make more posts in the future when I’ve shot more Ektachrome/slide film and have more opinions on using it or cool examples to share.